If you’re searching for a dessert that’s equal parts simple, nostalgic, and crowd-pleasing, Cherry Bars might just become your new go-to. With a buttery crust, a sweet-tart cherry filling, and a drizzle of glaze on top, these bars strike the perfect balance of rich and refreshing. They’re an excellent alternative to pie when you want the same flavor without all the fuss.
Whether served at family gatherings, potlucks, holidays, or just as a weekday indulgence, these bars never disappoint. Let’s dive into how to make this classic recipe.
Why You’ll Love This Recipe
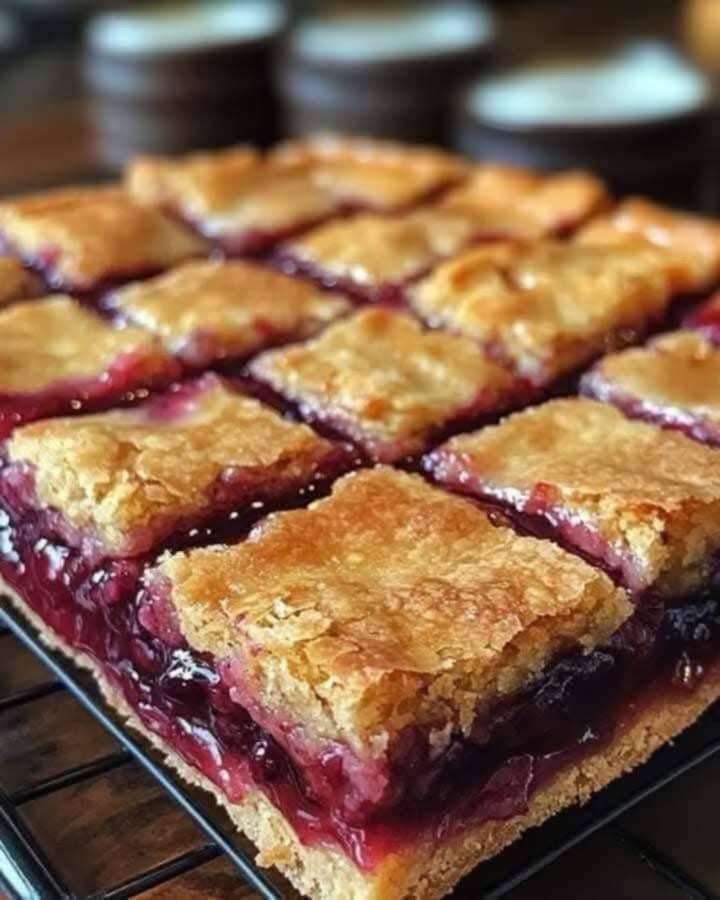
Easy to Make: No need to fuss with rolling out pie dough—just press and layer. Feeds a Crowd: A large batch makes it perfect for parties and gatherings. Versatile: You can swap in blueberry, raspberry, or even apple pie filling if cherries aren’t your favorite. Beautiful Presentation: The red filling peeking through the golden crust, topped with glaze, makes these bars as pretty as they are delicious.
Ingredients:
For the Bars:
1 cup (2 sticks) unsalted butter, softened
2 cups granulated sugar
4 large eggs
1 tsp vanilla extract
1/2 tsp almond extract (optional, but enhances the cherry flavor)
3 cups all-purpose flour
1 tsp salt
1 can (21 oz) cherry pie filling
For the Glaze:
1 cup powdered sugar
2–3 tbsp milk (or cream for richness)
1/2 tsp vanilla or almond extract
Instructions:
Step 1: Prepare the Batter
Preheat your oven to 350°F (175°C). Grease a 15×10-inch baking pan or line with parchment paper.
In a large bowl, cream together butter and sugar until light and fluffy.
Add eggs one at a time, beating well after each addition. Stir in vanilla and almond extracts.
Gradually add flour and salt, mixing until combined.
Step 2: Assemble the Bars
Spread about 3 cups of the batter evenly into the prepared pan. (It will be thick—use a spatula to spread.)
Spoon the cherry pie filling evenly over the batter.
Drop the remaining batter by spoonfuls over the filling. It won’t completely cover the cherries, and that’s okay—it gives the bars a rustic look.
Step 3: Bake
Bake for 35–40 minutes, or until the top is golden brown and a toothpick inserted into the crust (not the filling) comes out clean.
Allow to cool completely in the pan.
Step 4: Glaze and Serve
In a small bowl, whisk together powdered sugar, milk, and extract until smooth.
Drizzle the glaze over the cooled bars.
Cut into squares or rectangles and serve.
Tips for Success
Don’t Overmix the Batter: This keeps the crust tender instead of tough.
Chill Before Cutting: For neater slices, refrigerate the bars for 30 minutes before cutting.
Add a Festive Touch: Sprinkle with sliced almonds or holiday sprinkles before the glaze sets.
Storing & Freezing
Room Temperature: Store in an airtight container for up to 2 days.
Refrigerator: Keeps fresh for 5 days.
Freezer: Freeze in layers separated by parchment paper for up to 3 months. Thaw overnight before serving.
Serving Ideas
Enjoy with a scoop of vanilla ice cream for a true cherry pie à la mode experience.
Pair with a hot cup of coffee or tea for an afternoon pick-me-up.
Serve as part of a dessert tray at holidays alongside brownies, cookies, and lemon bars.
Final Thoughts
Cherry Bars are the kind of dessert that makes people smile before they even take a bite. They bring together the comforting flavors of a homemade cherry pie with the ease of a bar cookie. Whether you’re baking for your family or sharing at a gathering, this recipe is sure to become a beloved classic in your kitchen.